1
Open the Settings -> Tools & MCP panel
In Cursor’s main menu, choose Settings -> Cursor Settings. In the Settings panel, go to the Tools & MCP panel.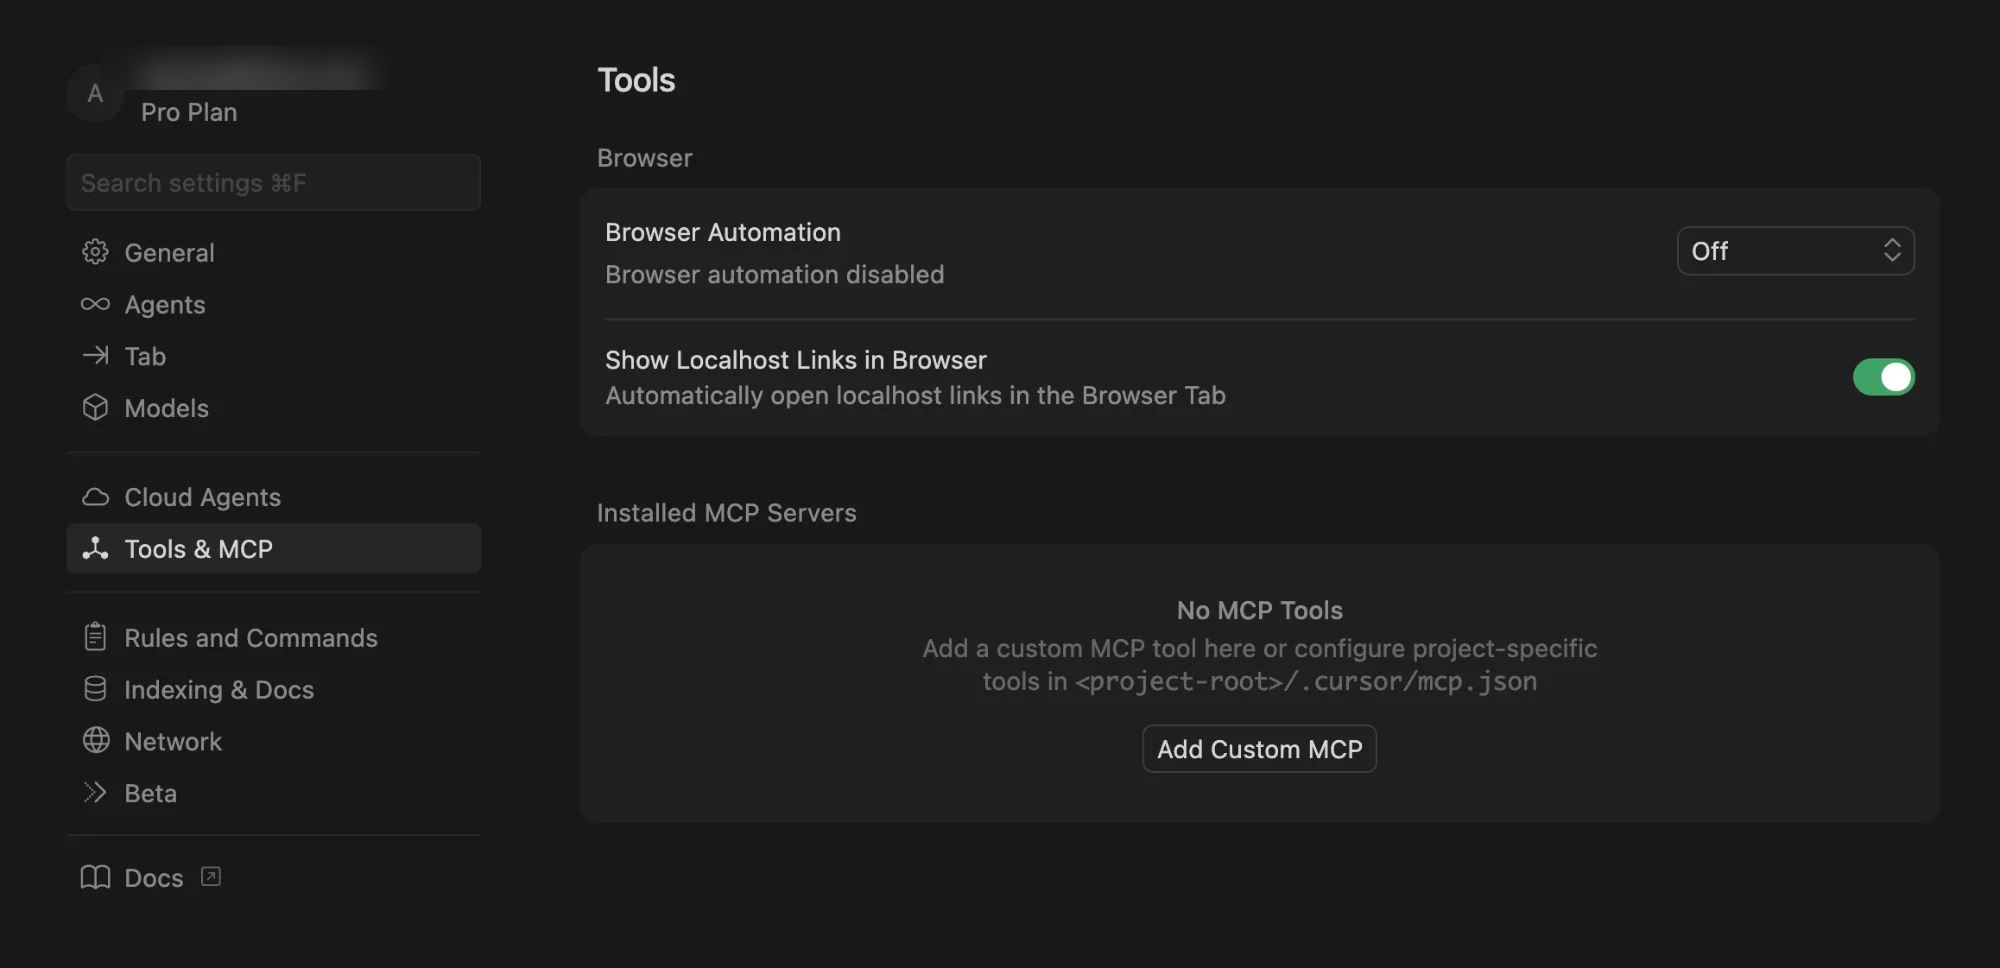
2
Add a custom MCP connection
Click “Add Custom MCP”. This will bring up an editor for a JSON file where you need you need to add an entry to the Once you’ve edited the file, save it and return to the settings panel.
mcpServers
list like this:3
Start the authentication process
Back in the settings panel, you should see an entry for the Zite MCP server like this: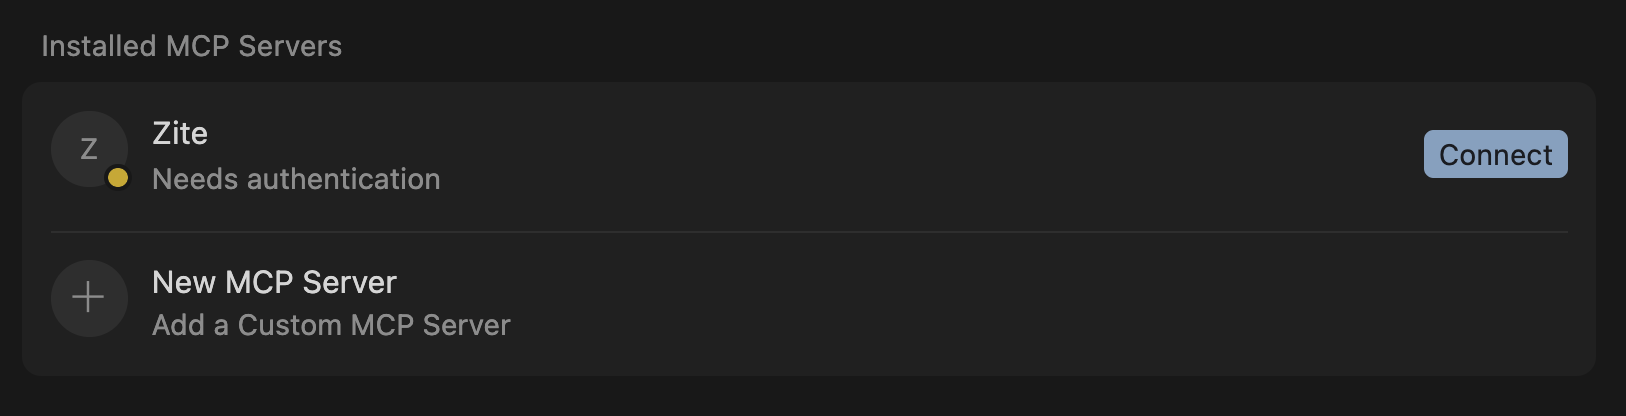
4
Authorize the connection
Cursor will send you over to Zite with this authorization screen: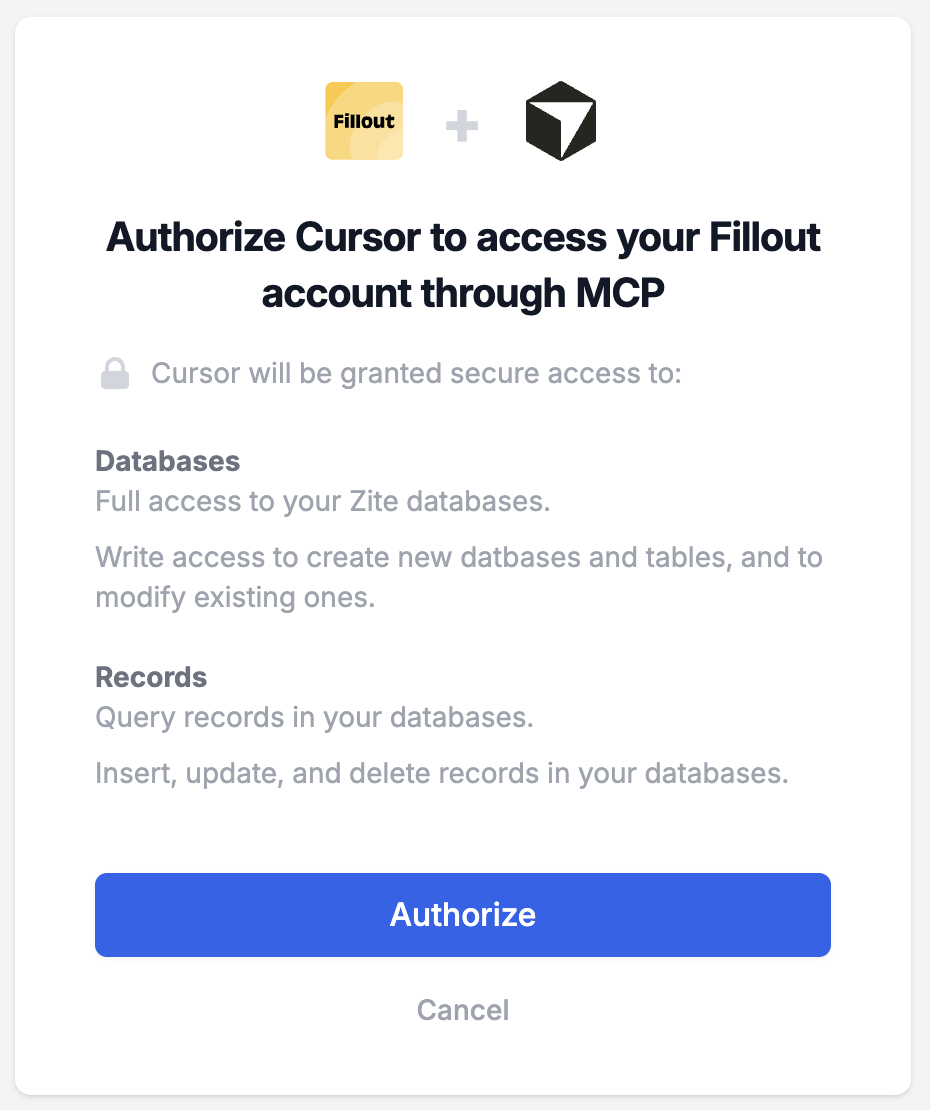
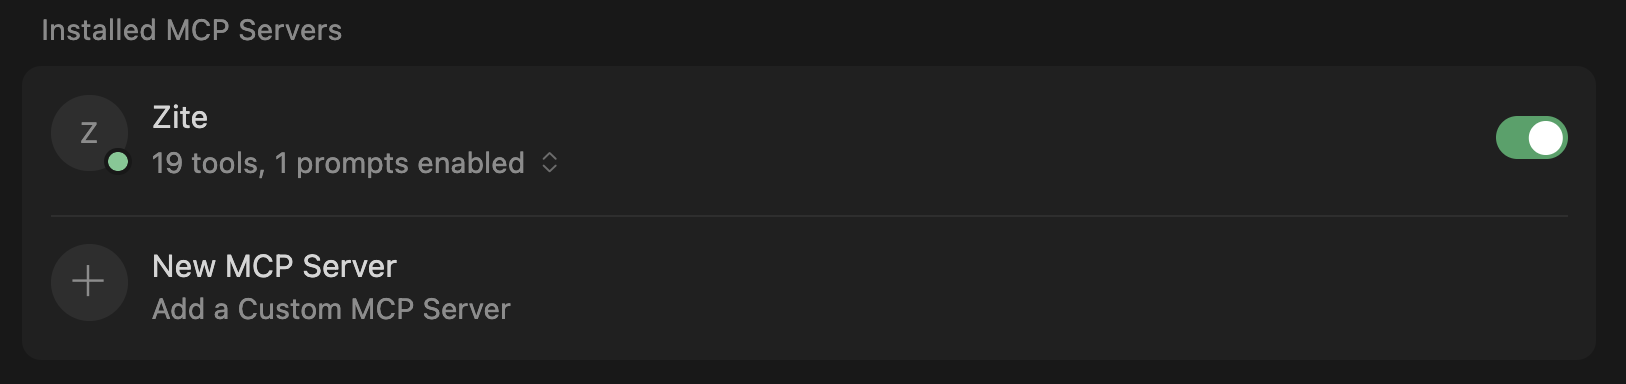
5
Start chatting
You’re all set. At this point you can head back to Cursor’s chat interface and start accessing your Zite data.